您的第二個擴充套件程式
如果你已經讀過你的第一個擴充套件這篇文章,你已經瞭解瞭如何編寫一個擴充套件。在這篇文章中,你將編寫一個稍微複雜一點的擴充套件,它將展示更多的 API。
這個擴充套件會在 Firefox 工具欄中新增一個新按鈕。當用戶點選這個按鈕時,我們會顯示一個彈出視窗,讓他們選擇一種動物。一旦他們選擇了一種動物,我們就會用所選動物的圖片替換當前頁面的內容。
為了實現這一點,我們將
-
定義一個瀏覽器動作,它是一個附加到 Firefox 工具欄的按鈕。對於這個按鈕,我們將提供
- 一個圖示,名為 "beasts-32.png"
- 一個在按鈕按下時開啟的彈出視窗。彈出視窗將包含 HTML、CSS 和 JavaScript。
-
為擴充套件定義一個圖示,名為 "beasts-48.png"。它將顯示在附加元件管理器中。
-
編寫一個內容指令碼 "beastify.js",它將被注入到網頁中。這是實際修改頁面的程式碼。
-
打包一些動物圖片,以替換網頁中的圖片。我們將這些圖片設定為“網路可訪問資源”,以便網頁可以引用它們。
你可以像這樣視覺化擴充套件的整體結構
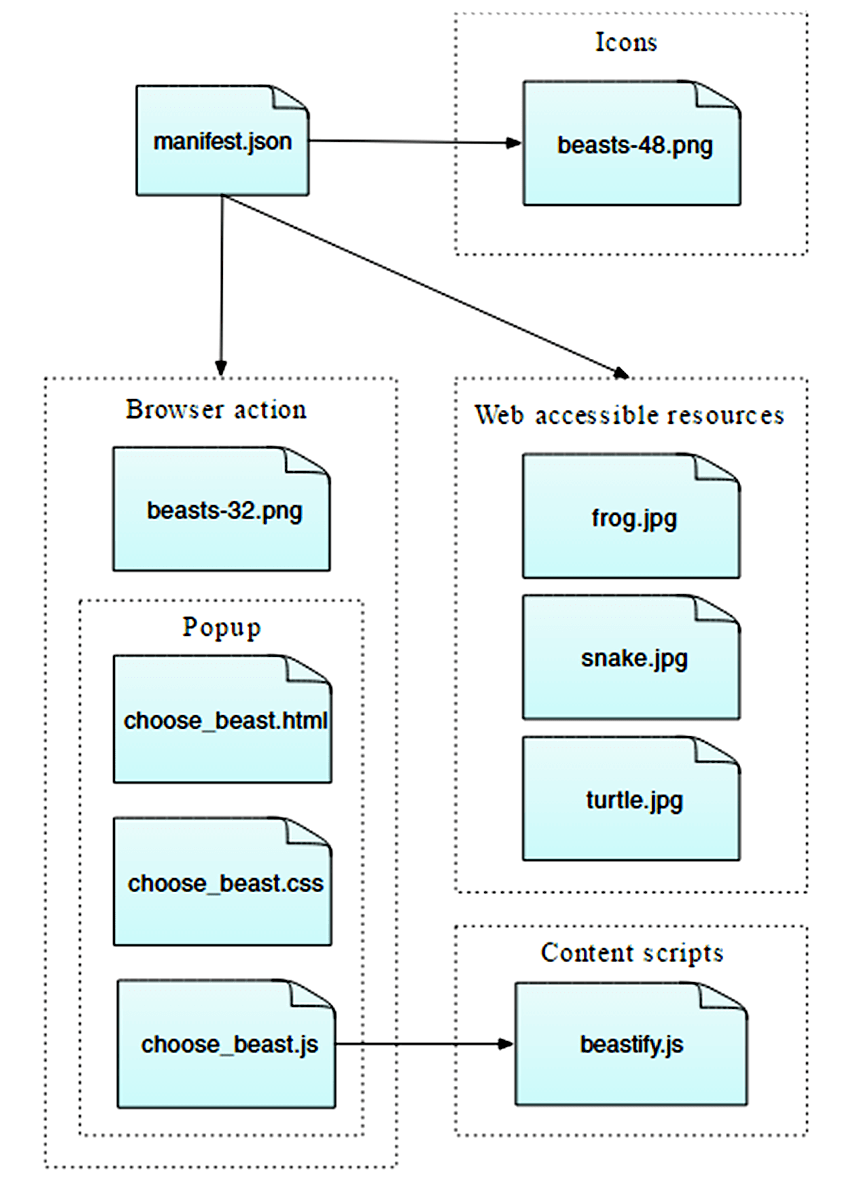
這是一個簡單的擴充套件,但展示了 WebExtensions API 的許多基本概念
- 向工具欄新增按鈕
- 使用 HTML、CSS 和 JavaScript 定義彈出面板
- 將內容指令碼注入網頁
- 在內容指令碼和擴充套件的其餘部分之間進行通訊
- 將網頁可以使用的資源與你的擴充套件一起打包
編寫擴充套件
建立一個新目錄並導航到它
mkdir beastify
cd beastify
manifest.json
現在建立一個名為 "manifest.json" 的新檔案,併為其提供以下內容
{
  "manifest_version": 2,
  "name": "Beastify",
  "version": "1.0",

  "description": "Adds a browser action icon to the toolbar. Click the button to choose a beast. The active tab's body content is then replaced with a picture of the chosen beast. See https://mdn.club.tw/en-US/Add-ons/WebExtensions/Examples#beastify",
  "homepage_url": "https://github.com/mdn/webextensions-examples/tree/main/beastify",
  "icons": {
    "48": "icons/beasts-48.png"
  },

  "permissions": ["activeTab"],

  "browser_action": {
    "default_icon": "icons/beasts-32.png",
    "default_title": "Beastify",
    "default_popup": "popup/choose_beast.html"
  },

  "web_accessible_resources": [
    "beasts/frog.jpg",
    "beasts/turtle.jpg",
    "beasts/snake.jpg"
  ]
}
-
前三個鍵:
manifest_version、name和version是必填項,包含擴充套件的基本元資料。 -
description和homepage_url是可選的,但建議填寫:它們提供有關擴充套件的有用資訊。 -
icons是可選的,但建議填寫:它允許你為擴充套件指定一個圖示,該圖示將顯示在附加元件管理器中。 -
permissions列出了擴充套件所需的許可權。我們這裡只請求activeTab許可權。 -
browser_action指定了工具欄按鈕。我們在這裡提供三條資訊default_icon是必填項,指向按鈕的圖示default_title是可選的,將顯示在工具提示中default_popup用於在使用者點選按鈕時顯示彈出視窗。我們確實需要,所以我們包含了這個鍵,並讓它指向擴充套件中包含的 HTML 檔案。
-
web_accessible_resources列出了我們希望對網頁可訪問的檔案。由於擴充套件用我們與擴充套件一起打包的圖片替換了頁面中的內容,因此我們需要使這些圖片對頁面可訪問。
請注意,所有給定的路徑都是相對於 manifest.json 本身。
圖示
該擴充套件應有一個圖示。它將顯示在附加元件管理器中擴充套件列表的旁邊(你可以透過訪問 URL "about:addons" 開啟它)。我們的 manifest.json 承諾我們會在 "icons/beasts-48.png" 處有一個工具欄圖示。
建立 "icons" 目錄並將一個名為 "beasts-48.png" 的圖示儲存在那裡。你可以使用我們示例中的圖示,該圖示取自 Aha-Soft 的免費 Retina 圖示集,並在其許可條款下使用。
如果你選擇提供自己的圖示,它應該是 48x48 畫素。你也可以提供一個 96x96 畫素的圖示,用於高解析度顯示器,如果你這樣做,它將在 manifest.json 中指定為 icons 物件的 96 屬性。
"icons": {
  "48": "icons/beasts-48.png",
  "96": "icons/beasts-96.png"
}
工具欄按鈕
工具欄按鈕也需要一個圖示,我們的 manifest.json 承諾我們會在 "icons/beasts-32.png" 處有一個工具欄圖示。
將一個名為 "beasts-32.png" 的圖示儲存在 "icons" 目錄中。你可以使用我們示例中的圖示,該圖示取自 IconBeast Lite 圖示集,並在其許可條款下使用。
如果你不提供彈出視窗,那麼當用戶點選按鈕時,會向你的擴充套件分派一個點選事件。如果你提供了彈出視窗,則不會分派點選事件,而是開啟彈出視窗。我們希望有一個彈出視窗,所以接下來讓我們建立它。
彈出視窗
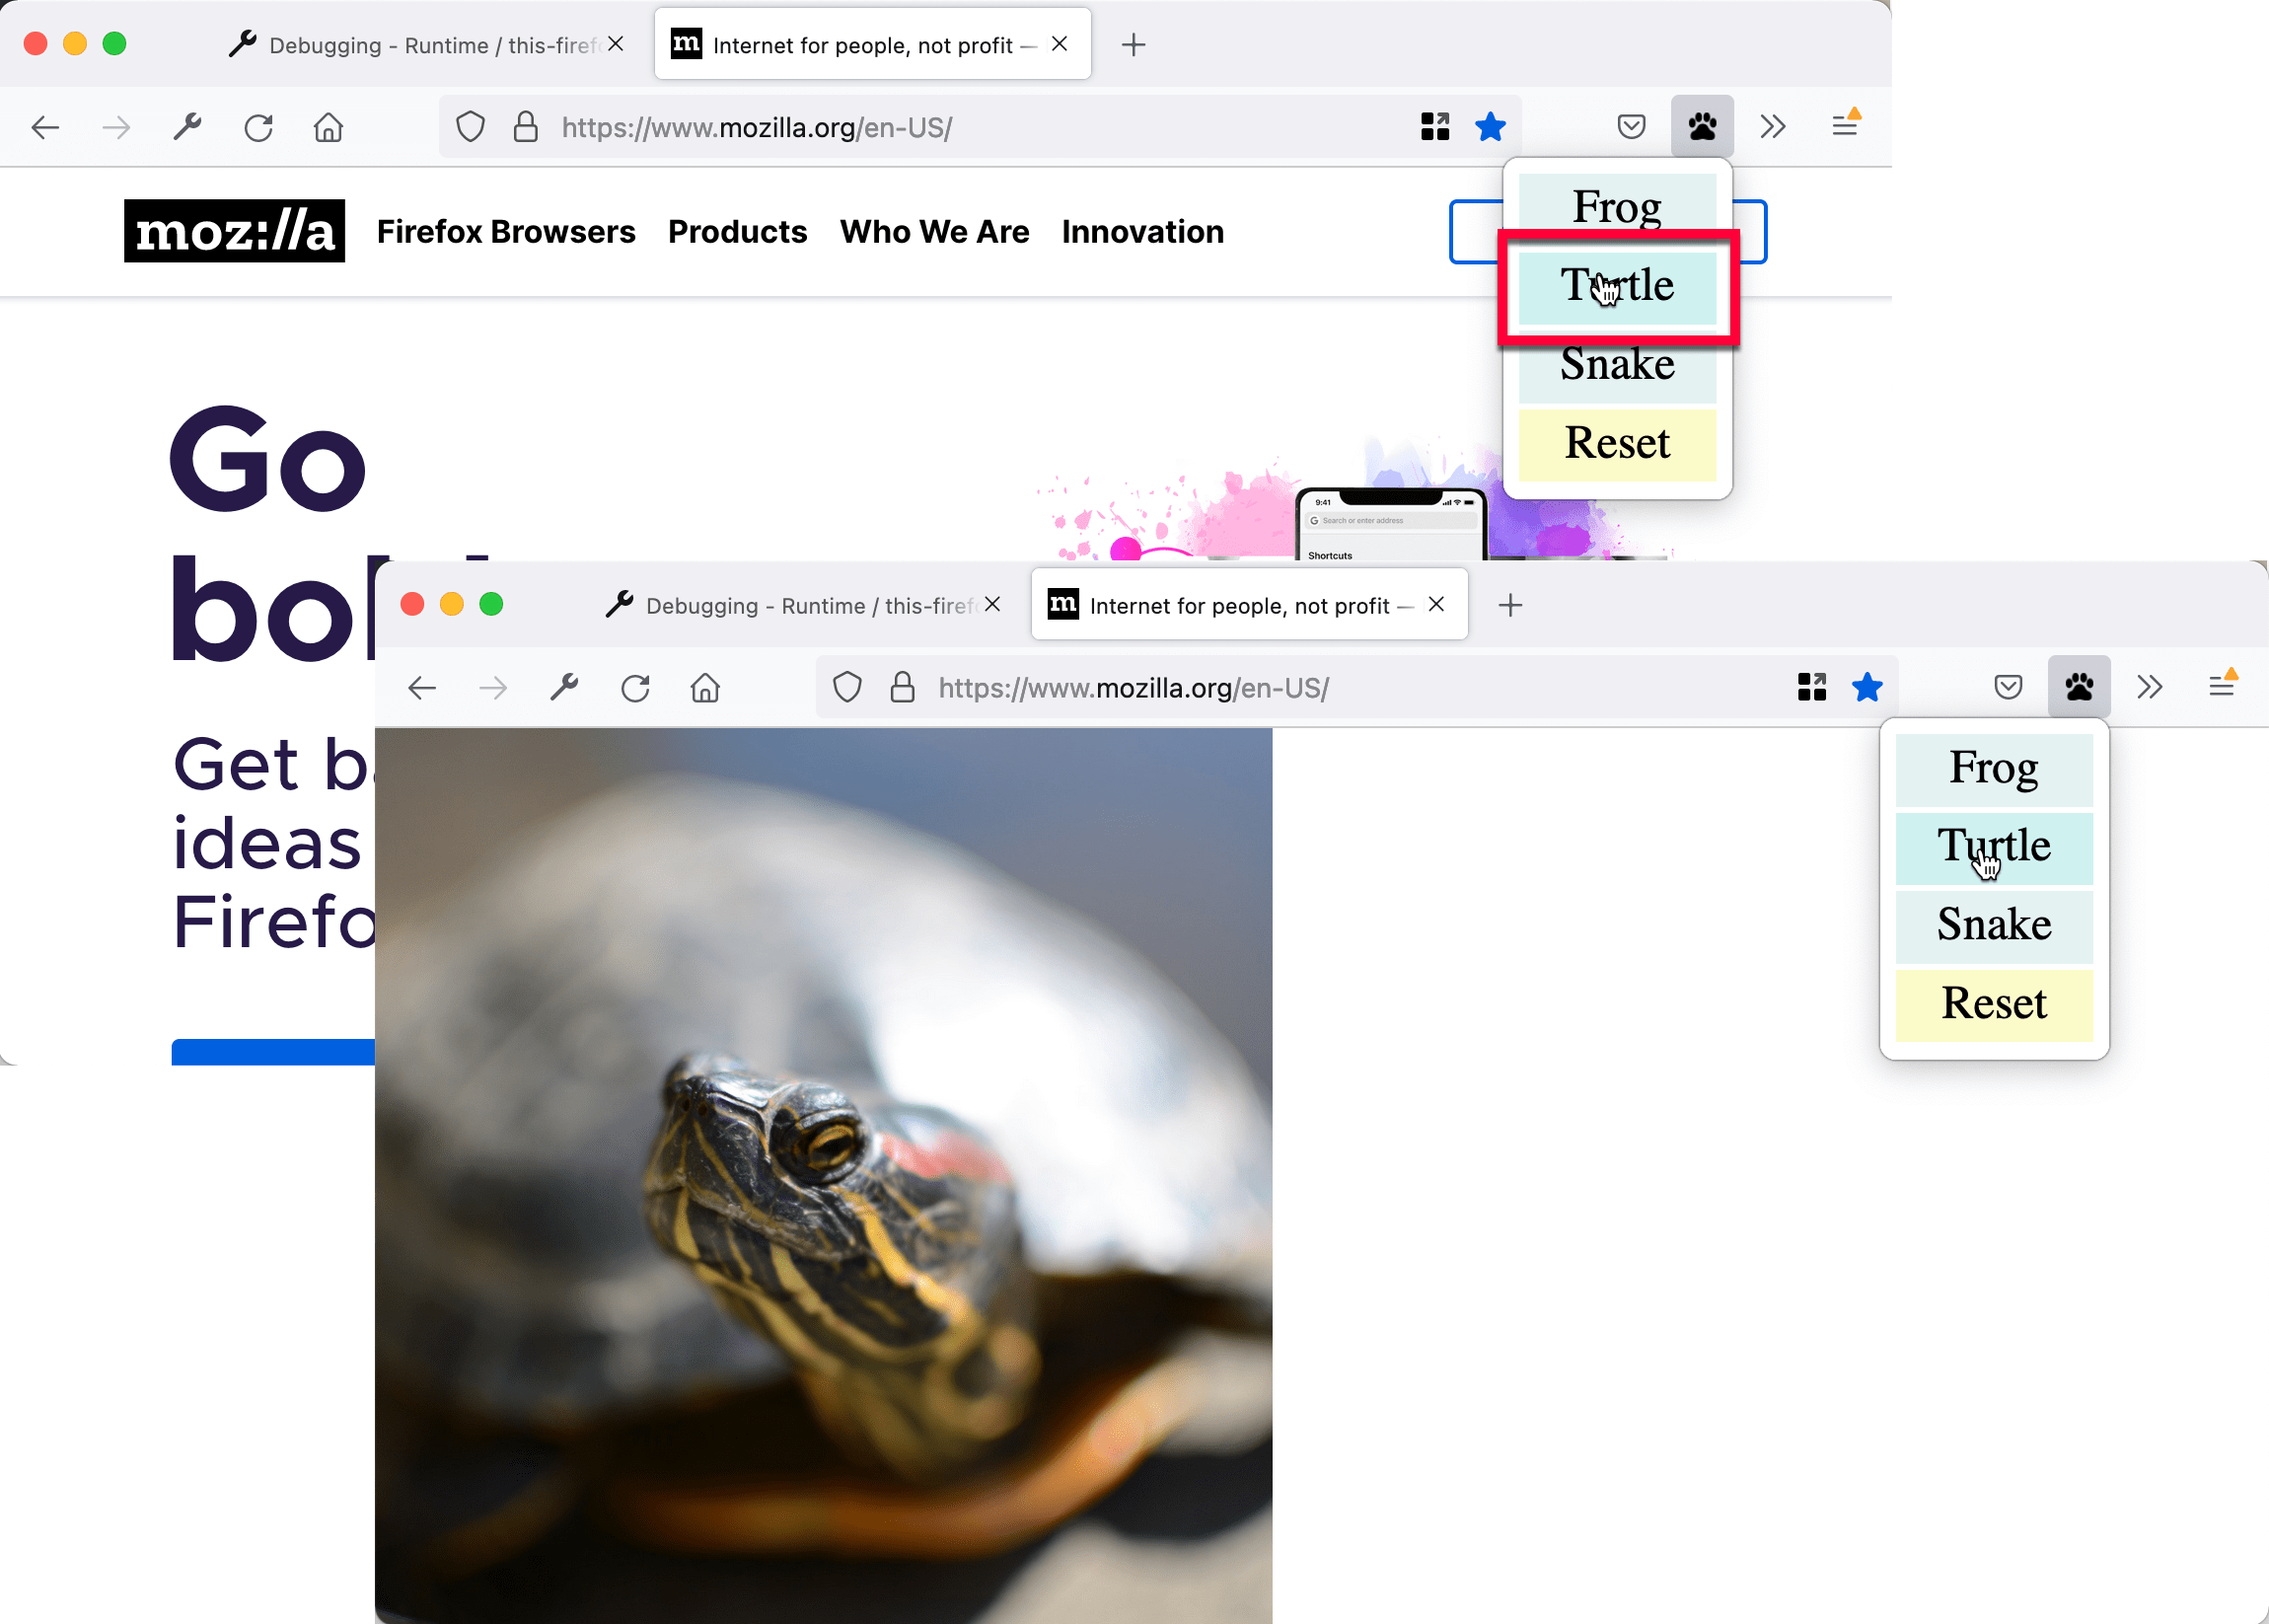
彈出視窗的功能是讓使用者選擇三種動物中的一種。
在擴充套件根目錄下建立一個名為 "popup" 的新目錄。我們將在這裡存放彈出視窗的程式碼。彈出視窗將由三個檔案組成
choose_beast.html定義面板的內容choose_beast.css為內容設定樣式choose_beast.js透過在活動選項卡中執行內容指令碼來處理使用者的選擇
mkdir popup
cd popup
touch choose_beast.html choose_beast.css choose_beast.js
choose_beast.html
HTML 檔案如下所示
<!doctype html>
<html lang="en-US">
  <head>
    <meta charset="utf-8" />
    <link rel="stylesheet" href="choose_beast.css" />
  </head>

  <body>
    <div id="popup-content">
      <button>Frog</button>
      <button>Turtle</button>
      <button>Snake</button>
      <button type="reset">Reset</button>
    </div>
    <div id="error-content" class="hidden">
      <p>Can't beastify this web page.</p>
      <p>Try a different page.</p>
    </div>
    <script src="choose_beast.js"></script>
  </body>
</html>
我們有一個 ID 為 "popup-content" 的 <div> 元素,其中包含每個動物選擇的按鈕和一個重置按鈕。我們還有另一個 ID 為 "error-content" 且類為 "hidden" 的 <div>。我們將用它來處理彈出視窗初始化時可能出現的問題。
請注意,我們從這個檔案中包含 CSS 和 JS 檔案,就像網頁一樣。
choose_beast.css
CSS 固定了彈出視窗的大小,確保三個選項填滿空間,併為它們提供了一些基本樣式。它還隱藏了帶有 class="hidden" 的元素:這意味著我們的 <div id="error-content"... 元素將預設隱藏。
html,
body {
  width: 100px;
}

.hidden {
  display: none;
}

button {
  border: none;
  width: 100%;
  margin: 3% auto;
  padding: 4px;
  text-align: center;
  font-size: 1.5em;
  cursor: pointer;
  background-color: #e5f2f2;
}

button:hover {
  background-color: #cff2f2;
}

button[type="reset"] {
  background-color: #fbfbc9;
}

button[type="reset"]:hover {
  background-color: #eaea9d;
}
choose_beast.js
這是彈出視窗的 JavaScript
/**
 * CSS to hide everything on the page,
 * except for elements that have the "beastify-image" class.
 */
const hidePage = `body > :not(.beastify-image) {
                    display: none;
                  }`;

/**
 * Listen for clicks on the buttons, and send the appropriate message to
 * the content script in the page.
 */
function listenForClicks() {
  document.addEventListener("click", (e) => {
    /**
     * Given the name of a beast, get the URL to the corresponding image.
     */
    function beastNameToURL(beastName) {
      switch (beastName) {
        case "Frog":
          return browser.runtime.getURL("beasts/frog.jpg");
        case "Snake":
          return browser.runtime.getURL("beasts/snake.jpg");
        case "Turtle":
          return browser.runtime.getURL("beasts/turtle.jpg");
      }
    }

    /**
     * Insert the page-hiding CSS into the active tab,
     * then get the beast URL and
     * send a "beastify" message to the content script in the active tab.
     */
    function beastify(tabs) {
      browser.tabs.insertCSS({ code: hidePage }).then(() => {
        const url = beastNameToURL(e.target.textContent);
        browser.tabs.sendMessage(tabs[0].id, {
          command: "beastify",
          beastURL: url,
        });
      });
    }

    /**
     * Remove the page-hiding CSS from the active tab,
     * send a "reset" message to the content script in the active tab.
     */
    function reset(tabs) {
      browser.tabs.removeCSS({ code: hidePage }).then(() => {
        browser.tabs.sendMessage(tabs[0].id, {
          command: "reset",
        });
      });
    }

    /**
     * Just log the error to the console.
     */
    function reportError(error) {
      console.error(`Could not beastify: ${error}`);
    }

    /**
     * Get the active tab,
     * then call "beastify()" or "reset()" as appropriate.
     */
    if (e.target.tagName !== "BUTTON" || !e.target.closest("#popup-content")) {
      // Ignore when click is not on a button within <div id="popup-content">.
      return;
    }
    if (e.target.type === "reset") {
      browser.tabs
        .query({ active: true, currentWindow: true })
        .then(reset)
        .catch(reportError);
    } else {
      browser.tabs
        .query({ active: true, currentWindow: true })
        .then(beastify)
        .catch(reportError);
    }
  });
}

/**
 * There was an error executing the script.
 * Display the popup's error message, and hide the normal UI.
 */
function reportExecuteScriptError(error) {
  document.querySelector("#popup-content").classList.add("hidden");
  document.querySelector("#error-content").classList.remove("hidden");
  console.error(`Failed to execute beastify content script: ${error.message}`);
}

/**
 * When the popup loads, inject a content script into the active tab,
 * and add a click handler.
 * If we couldn't inject the script, handle the error.
 */
browser.tabs
  .executeScript({ file: "/content_scripts/beastify.js" })
  .then(listenForClicks)
  .catch(reportExecuteScriptError);
這裡要從第 99 行開始。彈出指令碼使用 browser.tabs.executeScript() API,在彈出視窗載入後立即在活動選項卡中執行內容指令碼。如果執行內容指令碼成功,則內容指令碼將保留在頁面中,直到選項卡關閉或使用者導航到其他頁面。
browser.tabs.executeScript() 呼叫失敗的一個常見原因是您無法在所有頁面中執行內容指令碼。例如,您不能在 about:debugging 等特權瀏覽器頁面中執行它們,也不能在 addons.mozilla.org 域中的頁面上執行它們。如果失敗,reportExecuteScriptError() 將隱藏 <div id="popup-content"> 元素,顯示 <div id="error-content"... 元素,並將錯誤記錄到控制檯。
如果執行內容指令碼成功,我們將呼叫 listenForClicks()。它會監聽彈出視窗上的點選事件。
- 如果點選未發生在彈出視窗中的按鈕上,我們將忽略它並什麼都不做。
- 如果點擊發生在
type="reset"的按鈕上,那麼我們呼叫reset()。 - 如果點擊發生在任何其他按鈕(即動物按鈕)上,那麼我們呼叫
beastify()。
beastify() 函式執行三件事
- 將點選的按鈕對映到指向特定動物影像的 URL
- 使用
browser.tabs.insertCSS()API 注入一些 CSS,隱藏頁面的全部內容 - 使用
browser.tabs.sendMessage()API 向內容指令碼傳送一個 "beastify" 訊息,請求它美化頁面,並向它傳遞動物影像的 URL。
reset() 函式本質上是撤銷一個美化操作
- 使用
browser.tabs.removeCSS()API 移除我們新增的 CSS - 向內容指令碼傳送一個 "reset" 訊息,要求它重置頁面。
內容指令碼
在擴充套件根目錄下建立一個名為 "content_scripts" 的新目錄,並在其中建立一個名為 "beastify.js" 的新檔案,內容如下
(() => {
  /**
   * Check and set a global guard variable.
   * If this content script is injected into the same page again,
   * it will do nothing next time.
   */
  if (window.hasRun) {
    return;
  }
  window.hasRun = true;

  /**
   * Given a URL to a beast image, remove all existing beasts, then
   * create and style an IMG node pointing to
   * that image, then insert the node into the document.
   */
  function insertBeast(beastURL) {
    removeExistingBeasts();
    const beastImage = document.createElement("img");
    beastImage.setAttribute("src", beastURL);
    beastImage.style.height = "100vh";
    beastImage.className = "beastify-image";
    document.body.appendChild(beastImage);
  }

  /**
   * Remove every beast from the page.
   */
  function removeExistingBeasts() {
    const existingBeasts = document.querySelectorAll(".beastify-image");
    for (const beast of existingBeasts) {
      beast.remove();
    }
  }

  /**
   * Listen for messages from the background script.
   * Call "insertBeast()" or "removeExistingBeasts()".
   */
  browser.runtime.onMessage.addListener((message) => {
    if (message.command === "beastify") {
      insertBeast(message.beastURL);
    } else if (message.command === "reset") {
      removeExistingBeasts();
    }
  });
})();
內容指令碼做的第一件事是檢查全域性變數 window.hasRun:如果它已設定,指令碼會提前返回,否則它會設定 window.hasRun 並繼續。我們這樣做是因為每次使用者開啟彈出視窗時,彈出視窗都會在活動選項卡中執行一個內容指令碼,因此我們可能在單個選項卡中執行多個指令碼例項。如果發生這種情況,我們需要確保只有第一個例項會實際執行任何操作。
之後,從第 40 行開始,內容指令碼使用 browser.runtime.onMessage API 監聽來自彈出視窗的訊息。我們上面看到彈出指令碼可以傳送兩種不同型別的訊息:“beastify”和“reset”。
- 如果訊息是 "beastify",我們期望它包含一個指向野獸圖片的 URL。我們移除任何可能由之前的 "beastify" 呼叫新增的野獸,然後構造並附加一個
<img>元素,其src屬性設定為野獸 URL。 - 如果訊息是 "reset",我們只需移除可能已新增的任何野獸。
野獸們
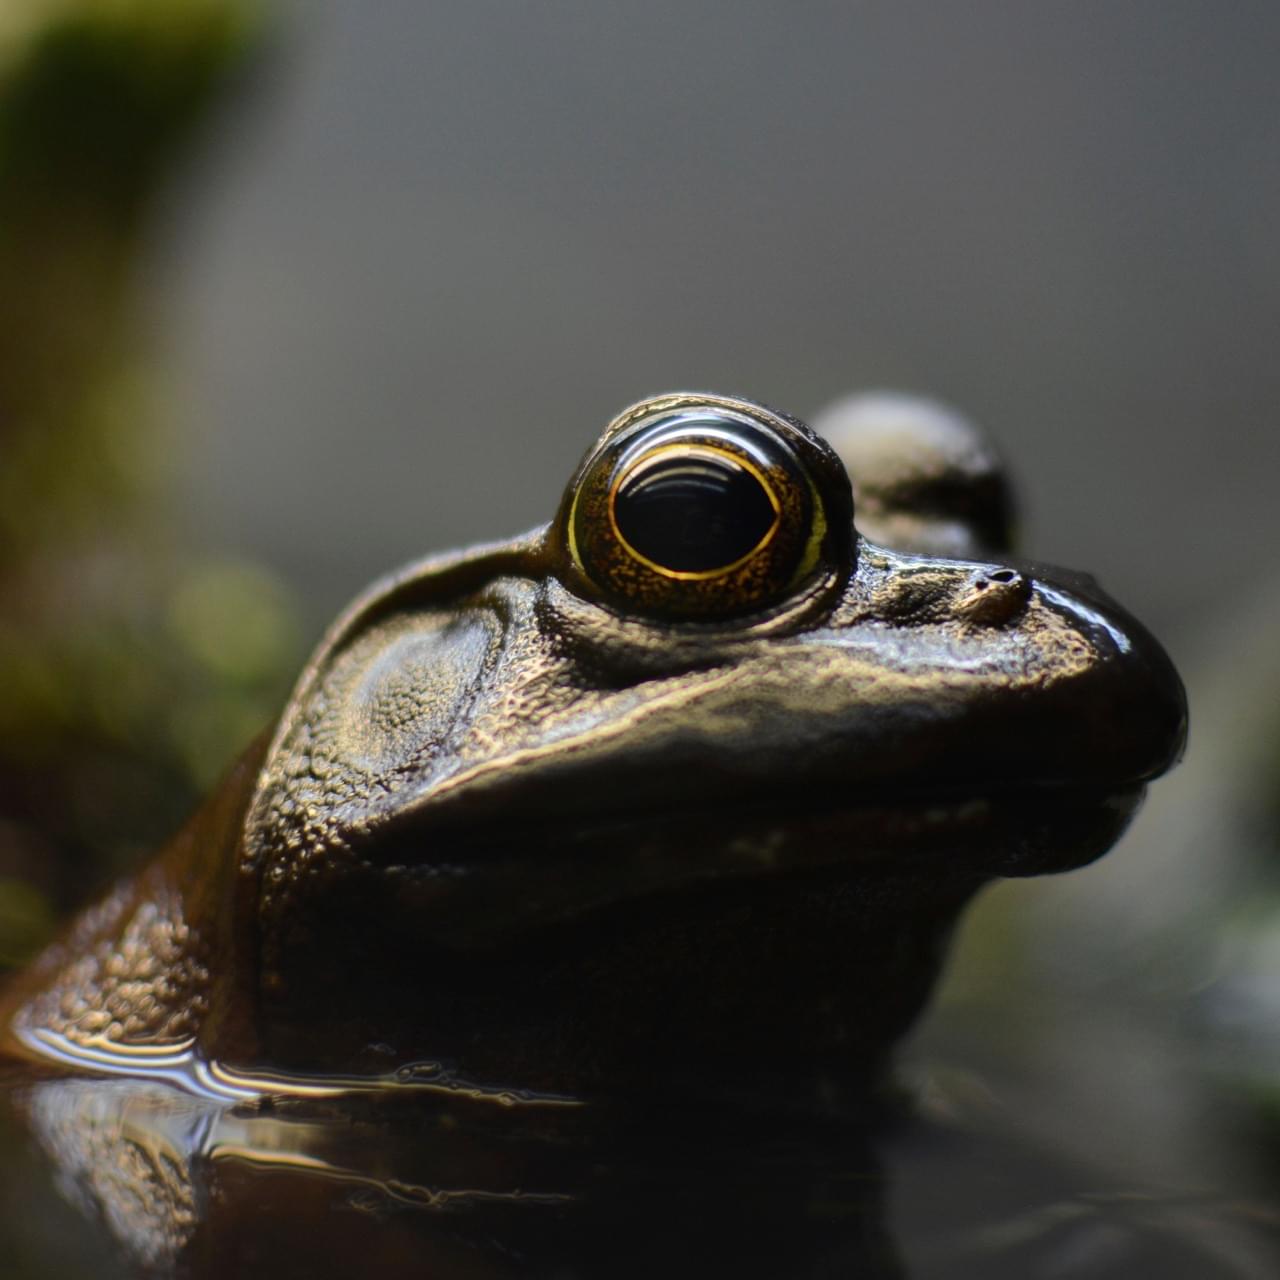
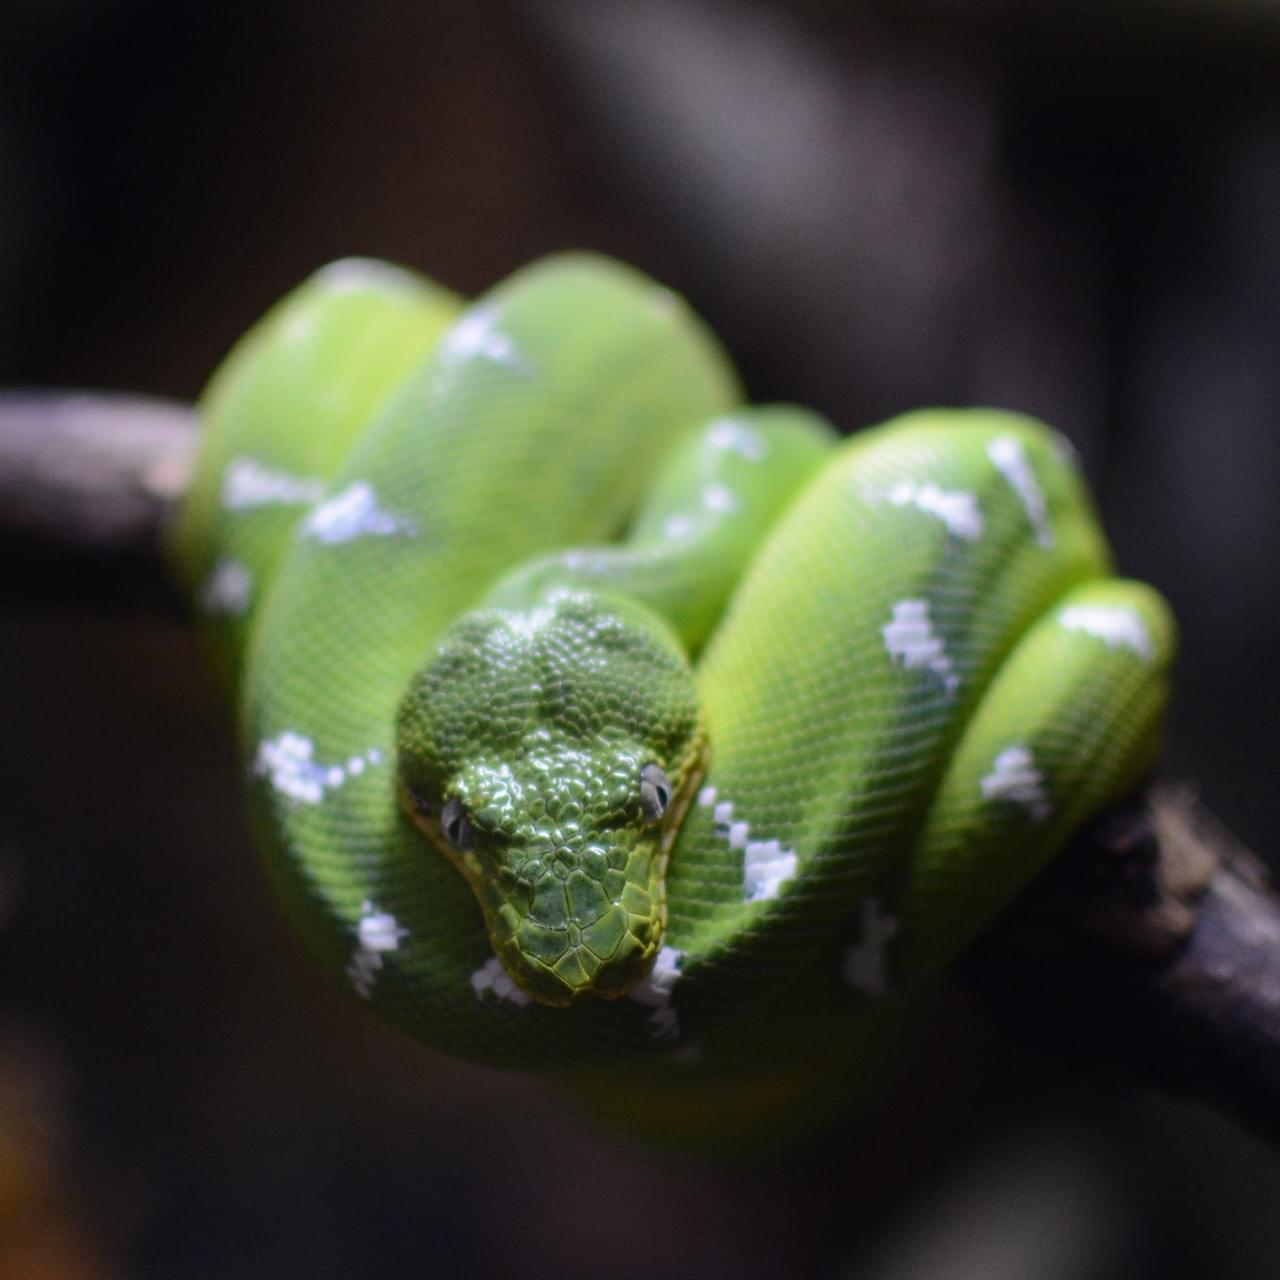
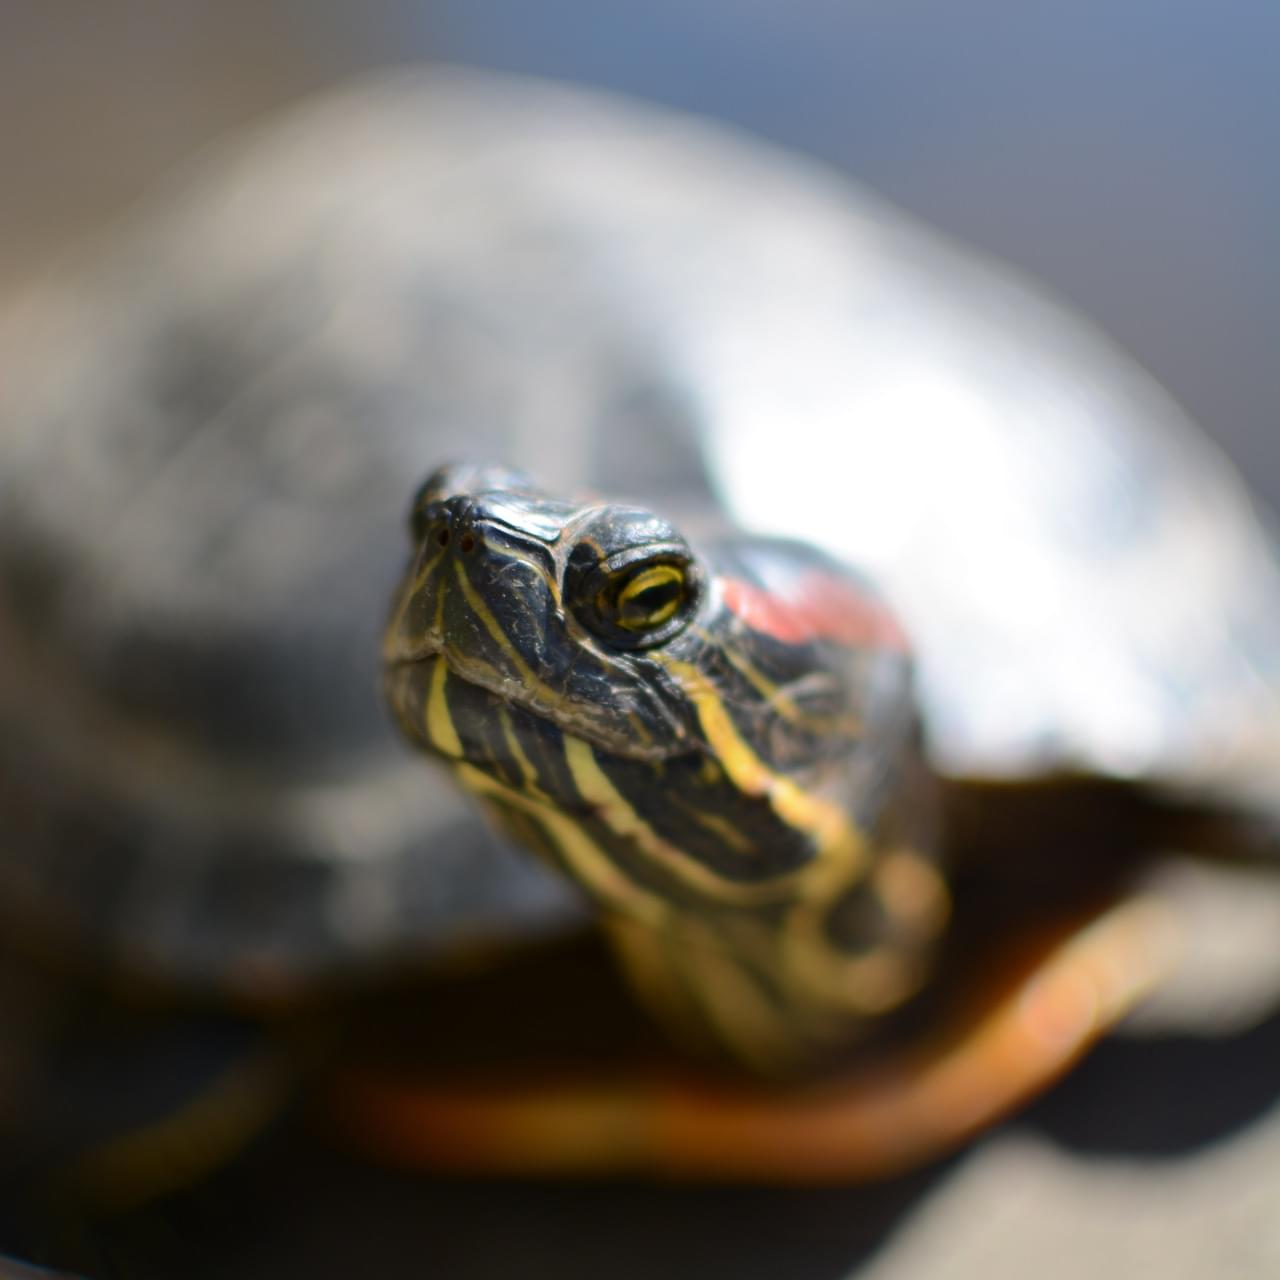
最後,我們需要包含野獸的影像。
建立一個名為 "beasts" 的新目錄,並將這三張圖片新增到該目錄中,並使用適當的名稱。您可以從GitHub 倉庫或此處獲取圖片
測試它
首先,仔細檢查你是否在正確的位置擁有正確的檔案
beastify/

    beasts/
        frog.jpg
        snake.jpg
        turtle.jpg

    content_scripts/
        beastify.js

    icons/
        beasts-32.png
        beasts-48.png

    popup/
        choose_beast.css
        choose_beast.html
        choose_beast.js

    manifest.json
現在將擴充套件作為臨時附加元件載入。在 Firefox 中開啟 "about:debugging",點選 "Load Temporary Add-on"(載入臨時附加元件),然後選擇你的 manifest.json 檔案。然後你應該會在 Firefox 工具欄中看到擴充套件的圖標出現
![]()
開啟一個網頁,點選圖示,選擇一種野獸,然後檢視網頁的變化
從命令列開發
你可以使用 web-ext 工具自動化臨時安裝步驟。試試這個
cd beastify
web-ext run
下一步是什麼?
現在你已經為 Firefox 建立了一個更高階的 WebExtension